How to Repot Common Pothos Varieties: A Step-by-Step Guide for Lush Growth
You’ve nurtured your pothos, watching its vines cascade beautifully for months or even years. But lately, you’ve noticed something’s off. The growth has slowed to a crawl, the leaves seem less vibrant, or you’re watering it constantly only to see it wilt again too soon. Worse, you might spot roots sneaking out of the drainage holes, a clear cry for help. These are the classic signs that your beloved plant is root-bound and desperately needs a new home. Repotting might seem daunting, but it’s a simple, rewarding process crucial for your plant’s long-term health. This definitive guide will walk you through how to repot common pothos varieties safely and effectively, ensuring they continue to thrive for years to come.
Understanding the "Why" Before the "How"

Repotting isn’t just about giving your plant more space; it’s about renewing its vital resources. Over time, the potting mix breaks down, losing its ability to drain properly and hold nutrients. The roots fill the pot, competing for limited space and moisture. Repotting refreshes the soil, gives roots room to expand, and prevents diseases associated with compacted, soggy conditions. For vigorous growers like Golden Pothos, Marble Queen, or Neon Pothos, this refresh is the key to maintaining their legendary lushness.
Recognizing When Your Pothos Needs Repotting
Timing is everything. Repotting a perfectly happy plant can cause unnecessary stress. Look for these unmistakable signals:
- Roots on Display: The most obvious sign. Roots growing out of the drainage holes or circling visibly on the soil surface.
- Rapid Water Drainage: Water runs straight through the pot without being absorbed, indicating more roots than soil.
- Stunted Growth: Your pothos produces few or no new leaves, especially during its prime growing season (spring/summer).
- Frequent Wilting: The plant needs water unusually often because the root mass can’t hold enough moisture.
- Top-Heavy Plant: The plant becomes prone to tipping over, indicating an unbalanced root-to-pot ratio. The ideal time for repotting pothos plants is in the spring or early summer when the plant is entering its active growth phase and can recover quickly.
Gathering Your Essential Repotting Toolkit
Being prepared makes the process smooth. You’ll need:
- New Pot: Select one only 1-2 inches larger in diameter than the current pot. A pot too large holds excess wet soil, leading to root rot. Ensure it has drainage holes.
- Fresh Potting Mix: A well-draining, aerated mix is non-negotiable. A standard indoor plant potting mix is fine, but for optimal results, consider adding perlite or orchid bark (about a 3:1 ratio) to improve drainage. According to horticulturist Jane Smith, "A chunky, airy substrate mimics the pothos's natural epiphytic tendencies and is the single best upgrade for root health."
- Tools: Pruning shears or sharp scissors (sterilized with rubbing alcohol), a trowel, newspaper or a workspace you don’t mind getting dirty, and gloves if preferred.
- Support: A small stake or moss pole if you wish to train your pothos to climb.
The Step-by-Step Repotting Process
Follow these clear steps to ensure a successful transition for your plant.
Step 1: Prepare the New Pot and Mix Place a small piece of mesh or a coffee filter over the drainage hole to prevent soil loss. Add a 1-2 inch layer of fresh potting mix to the bottom of the new pot. Do not pack it down.
Step 2: Gently Remove the Pothos Water your pothos lightly a day before repotting to make the root ball more pliable. To remove it, tilt the pot sideways, support the plant at its base, and gently coax it out. You may need to tap the pot's sides or run a knife around the interior edge. Never pull on the stems.
Step 3: Inspect and Loosen the Root Ball This is a critical health check. Gently massage the root ball to loosen the outer roots. If they are densely wound in a circular pattern (root-bound), make a few vertical cuts with your fingers or a clean tool to encourage them to grow outward. Look for any dark, mushy roots—these are rotten and must be pruned away with your sterilized shears.
")
Step 4: Position in the New Pot Place the pothos in the center of the new pot. The top of the old root ball should sit about an inch below the pot's rim. This allows space for watering. Add or remove base soil as needed to achieve the right height.
Step 5: Fill and Settle the Soil Fill in around the sides with fresh potting mix. Gently tap the pot on the table to settle the soil and eliminate large air pockets. Avoid compacting the soil tightly; roots need air. Leave a small gap between the soil surface and the pot rim for water.
Step 6: The First Watering Water your newly potted pothos thoroughly until water flows freely from the drainage holes. This helps the new soil settle around the roots. Allow all excess water to drain completely.
Post-Repotting Care for Success
Your job isn’t over once the pot is filled. Proper aftercare prevents shock.
- Location: Place the repotted plant back in its original light location. Avoid direct sun, which can stress it further.
- Hold the Fertilizer: Do not fertilize for at least 4-6 weeks. Fresh soil contains nutrients, and fertilizer can burn tender, recovering roots.
- Monitor Closely: Some drooping or yellowing of a leaf or two is normal as the plant adjusts. Resume your normal watering routine only when the top inch of the new soil feels dry.
Special Considerations for Different Pothos Varieties
While the core process is the same, some common pothos types have slight nuances.
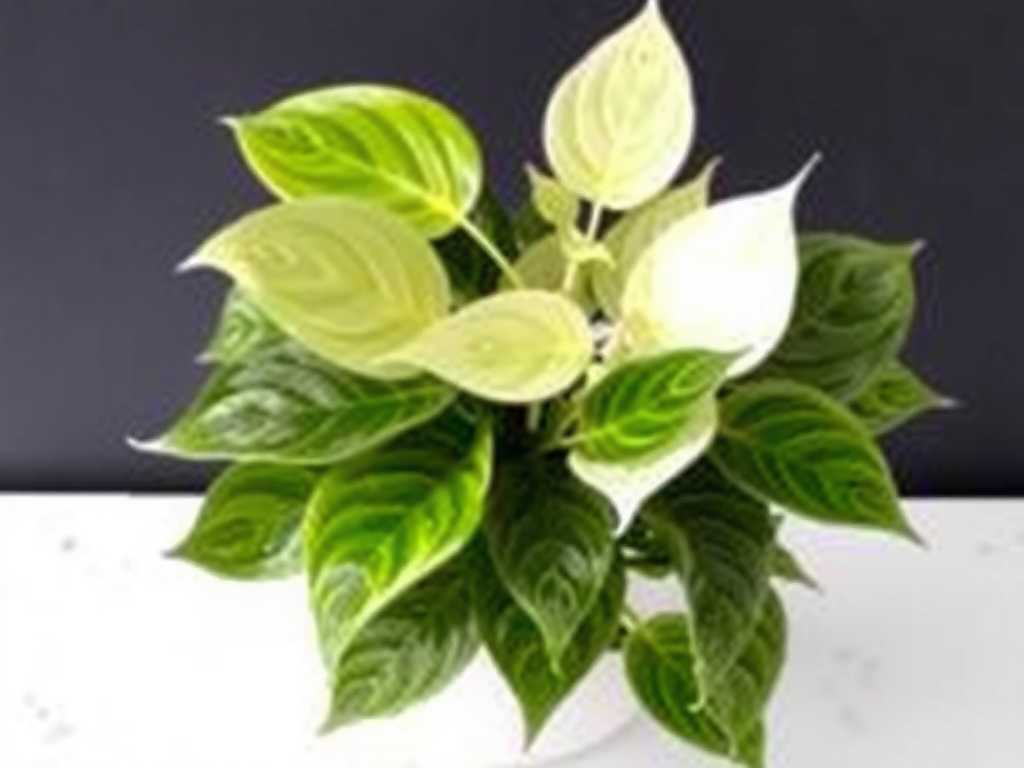
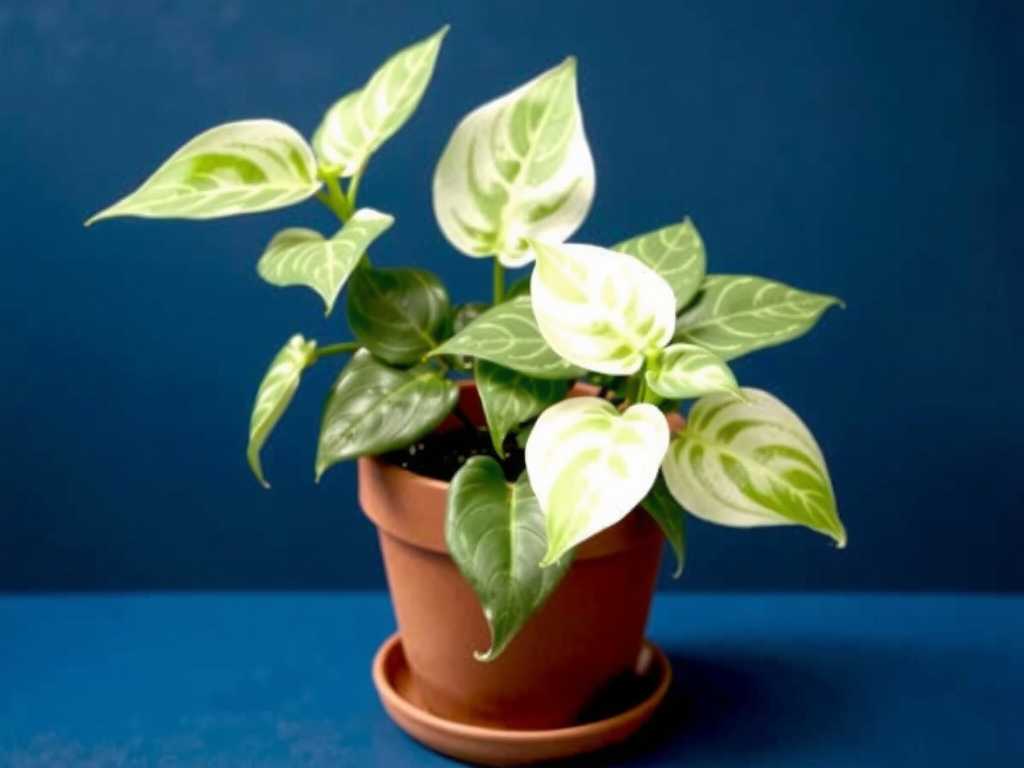
- Variegated Varieties (Marble Queen, Snow Queen, Manjula): These have less chlorophyll. Ensure they have bright, indirect light post-repotting to support their recovery and maintain their stunning patterns.
- Slower Growers (Jade Pothos, Global Green): They may take a bit longer to show new growth after repotting. Be patient and resist the urge to overwater.
- Mature, Large Plants: For a big, established pothos, you might choose to simply refresh the top few inches of soil annually instead of full repotting every year.
My pothos looks sad and droopy after repotting. What should I do? A period of slight shock is common. Ensure it’s not in direct sunlight and that you’re not overwatering. The soil should dry out a bit more than usual between waterings while it recovers. Give it 1-2 weeks to perk up as the roots settle into their new environment.
Can I propagate cuttings at the same time I repot? Absolutely. Repotting is an excellent opportunity to take cuttings for propagation. If you need to prune long vines to make the plant more manageable, simply cut below a node and place the cutting in water or soil to root. This way, you refresh the mother plant and create new baby plants simultaneously.
How often should I plan to repot my pothos? There’s no fixed schedule, as growth depends on light and care. Typically, a healthy pothos needs repotting every 1-2 years. Rely on the physical signs mentioned earlier—like roots emerging from the pot or slowed growth—rather than the calendar, to determine the perfect timing for your plant.
Repotting your pothos is an act of care that directly translates to more vigorous growth, fuller foliage, and a healthier plant. By recognizing the signs, gathering the right materials, and following a gentle, methodical process, you can confidently give your pothos the renewed foundation it needs. Whether you have a classic Golden or a trendy Cebu Blue, this simple maintenance task ensures your easy-going vine remains the vibrant, thriving centerpiece of your indoor jungle.

发表评论