How to Propagate Rare Pothos Varieties Without Professional Tools
You've finally gotten your hands on a stunning, rare pothos cutting—perhaps a variegated Manjula with its creamy splashes, a silvery Satin Pothos, or the highly sought-after Global Green. The excitement is real. But then, a wave of anxiety hits. You don't have a fancy propagation station, a greenhouse, or specialized rooting hormones. The fear of watching that precious cutting turn to mush is all too common. What if you could successfully multiply your rare plant using items you already have at home?
The good news is, you absolutely can. Propagating rare pothos varieties doesn't require professional gear. It demands understanding, patience, and a few simple household staples. This guide will walk you through the entire process, from selecting the perfect cutting to nurturing it into a robust new plant, using nothing more than what you likely already own.

Understanding Your Rare Pothos First
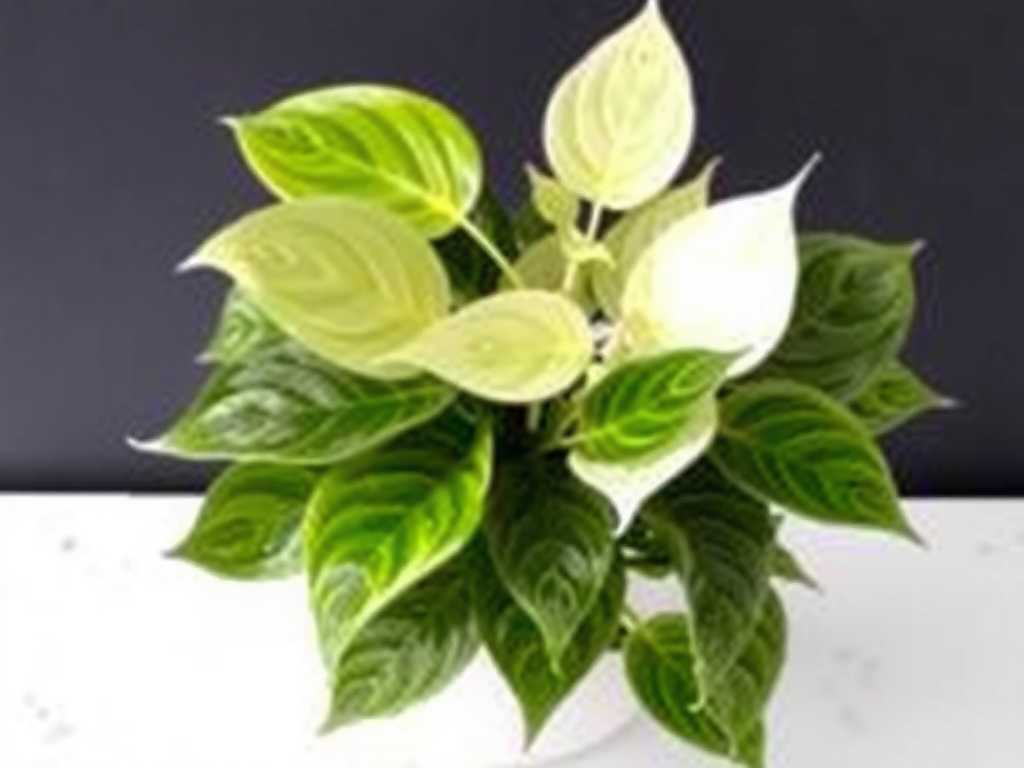
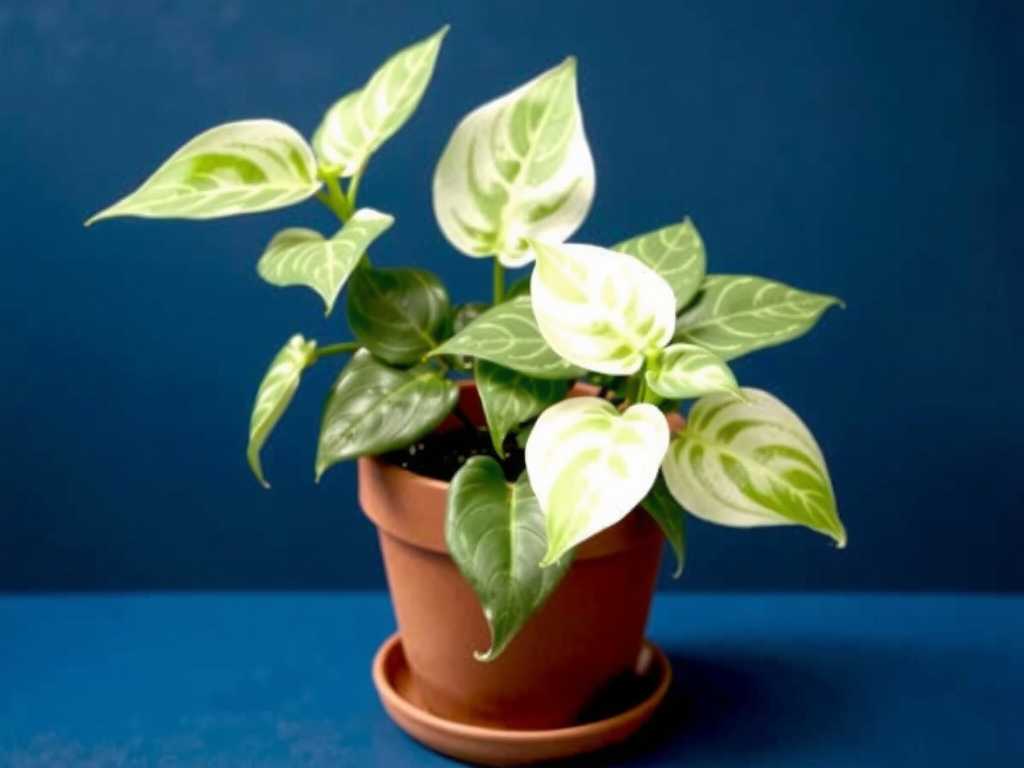
Before you make the first cut, it's crucial to know what makes your pothos "rare." Often, it's the unique variegation—patterns of white, cream, yellow, or silver on the leaves. This variegation results from a lack of chlorophyll in some plant cells. It's beautiful but comes with a catch: these sections can't produce energy for the plant.
When propagating, your goal is to ensure the cutting has enough green, chlorophyll-rich tissue to photosynthesize and create energy for root growth. A cutting taken from a stem with little to no green may struggle or fail entirely. Always choose a stem section with at least one node (the brown bump on the stem where leaves and roots emerge) and a healthy, preferably well-variegated leaf that also has a solid portion of green.
Essential "Tools" You Already Own
Forget the professional kit. Your propagation toolkit is in your kitchen and bathroom.
- Sharp Scissors or a Knife: Cleanliness is non-negotiable. Wipe your cutting tool with rubbing alcohol to prevent transferring bacteria or disease to your precious cutting.
- Glass Jars or Vases: Any clear glass container works perfectly for water propagation. Mason jars, drinking glasses, or even cleaned pasta sauce jars are ideal.
- Potting Mix: A well-draining, airy mix is key. You can create one by blending regular potting soil with plenty of perlite and orchid bark.
- Small Pots with Drainage: Recycled plastic cups with holes poked in the bottom are excellent starters.
- Transparent Plastic Bags or Domes: These will create a humid microenvironment, a game-changer for soil propagation.
- Water: Room temperature, filtered or tap water left out for 24 hours to dechlorinate is perfect.
Step-by-Step: Propagation in Water (The Most Common Method)
Water propagation is the most popular and beginner-friendly method. It allows you to witness root development firsthand, which is both rewarding and informative.
First, identify a healthy stem on your mother plant. Look for a section with 3-4 leaves and at least two nodes. Using your sterilized scissors, make a clean cut about a quarter-inch below a node. Remove any leaves that would be submerged in water, as they will rot.
Next, place your cutting in your chosen glass jar filled with water, ensuring only the node(s) are underwater. The leaf and stem should remain dry. Position the jar in a spot with bright, indirect light. Avoid direct sun, which can cook the cutting or encourage algae growth in the water.
Change the water every 5-7 days to keep it fresh and oxygenated. This simple step prevents bacterial slime and keeps your cutting healthy. In a few weeks, you'll see tiny white roots sprouting from the node. Wait until these roots are at least 2-3 inches long and have developed smaller secondary roots before even thinking about potting. This patience ensures a higher success rate when transitioning to soil.
Mastering Soil Propagation for Faster Establishment
While water propagation is visual, planting cuttings directly into soil can lead to stronger, better-adapted roots from the start. This method skips the potentially stressful transition from water roots to soil roots.
Prepare your well-draining potting mix in a small pot and moisten it thoroughly. It should feel like a wrung-out sponge—damp, not soggy. Take your cutting, prepared the same way as for water propagation. You can dip the cut end in honey or cinnamon as a natural rooting agent to discourage fungus, though it's not strictly necessary for pothos.
Make a small hole in the soil with your finger and insert the cutting, gently firming the soil around the node. Here’s the household trick: cover the entire pot with a clear plastic bag or place it inside a clear storage container to create a mini-greenhouse. This drastically increases humidity around the leaves, reducing water loss while the cutting has no roots.
Place your mini-greenhouse in warm, bright, indirect light. Open the bag for 10 minutes every few days to allow fresh air exchange and prevent mold. Keep the soil lightly moist, but never wet. In about 4-6 weeks, give the cutting a very gentle tug. If you feel resistance, roots have formed! You can then gradually remove the plastic cover over a week to acclimate the plant to normal room humidity.
Troubleshooting Common Propagation Problems
Even with the best care, issues can arise. Here’s how to solve them with your simple toolkit.
- Yellowing Leaves: This is often due to overwatering (in soil) or nutrient deficiency in water. For soil, let it dry out more. For water, ensure you're changing it regularly and pot it up once roots are established.
- Rotting Stem (Mushy, Brown): This is a sign of bacterial or fungal infection, usually from a non-sterile cut or staying too wet. Cut well above the rot with a sterilized tool and restart in fresh water or soil.
- Slow or No Root Growth: Ensure the cutting has a node (roots won't grow from just a stem). Provide more warmth and light. Some rare varieties are simply slower. Patience is key.
- Algae in Water Jar: While unsightly, algae isn't typically harmful. It indicates too much light on the water. Change the water, rinse the jar, and move it to a slightly shadier spot.
Caring for Your Newly Propagated Rare Pothos
Once your propagated plant has a healthy root system in its pot, treat it like a mature plant but with slight caution. Water only when the top inch of soil feels dry. Provide consistent, bright, indirect light to maintain its variegation. Hold off on fertilizer for the first 2-3 months, then use a diluted, balanced liquid fertilizer monthly during the growing season.
As horticulturist Dr. Linda Chalker-Scott notes, "The success of propagation lies not in technology, but in replicating the stable, humid conditions of a plant's natural understory environment." Your plastic bag dome does exactly that.
Will propagating in water make my rare pothos lose its variegation? No, the propagation method itself does not affect variegation. Variegation is genetically encoded in the cells of the cutting you took. However, to maintain vibrant variegation in the new plant, provide plenty of bright, indirect light once it's established. Low light can cause the plant to produce more green leaves to capture more energy.
How long does it typically take for rare pothos cuttings to root? Rooting time varies by variety and conditions, but generally, you can expect to see the first white root nubs in water within 1-3 weeks. Soil propagation takes a bit longer to visibly confirm, often 4-6 weeks. Slower-growing or highly variegated types may take longer. The key is consistent warmth and light.
")
Can I propagate a rare pothos from just a leaf without a node? Unfortunately, no. The node is the essential growth point containing the cells that develop into new roots and stems. A leaf alone, even with a piece of stem attached but no node, may stay alive in water for months but will never produce roots or a new vine. Always ensure your cutting includes at least one healthy node.
Growing your collection of rare pothos is an immensely satisfying journey that demystifies plant propagation. By using clear glass jars to monitor root growth, creating miniature greenhouses with plastic bags, and choosing cuttings with care, you harness simple principles to achieve professional results. Each successful new plant is a testament to your skill and patience. Start with a single node, apply these accessible techniques, and watch your rare pothos family flourish.

发表评论